DIY | holiday | save money
DIY Halloween Decorations Using Mobee Rewards
Halloween decorations are an integral part of the holiday, but they can often cost a lot more than you’d expect. There are a ton of DIY Halloween ideas available through a simple Google search, but those articles can’t show you how to maximize your Mobee rewards to make the most of your Halloween decoration budget. The spooky decorations you’re dreaming of can be yours! Whether you’re hosting a Halloween party or you’re simply preparing for trick-or-treaters, these DIY decorations will help you create a one-of-a-kind spook-tacular halloween vibe for your celebration plans this year.
DIY Witches Cauldron
This decoration is perfect for holding party punch or just for spicing up your Halloween decor this year. First, let’s take a look at what you’ll need to buy to create this decoration.
- A cauldron – Amazon
- Dry Ice – Typically found at grocery stores
- Beverage of Choice – Grocery store of choice
To create this spooky scene, all you need to do is fill your cauldron with dry ice and pour the beverage of your choice into the cauldron when you’re ready to create the smokey, Halloween-y effect. To make it last longer, continue adding dry ice to the mixture as the “fog” begins to slow down. This decoration is an easy crowd pleaser for any party or trick-or-treater around. The best part is all of these items can be purchased using a Mobee gift card. This one would involve Amazon and/or the MasterCard gift card.
Note: Do not touch or eat the dry ice directly – you’ll want to handle this product with caution if you choose to create this DIY project.
Mason Jar Ghost & Spider Candles
Ghosts and spiders are a spooky Halloween staple which is why these DIY Halloween decorations are perfect for decorating inside or outside of your house! Here’s what you’ll need:
- Mason Jars (small for spiders and larger for ghosts) – Amazon Small Jars, Amazon Large Jars, Target
- Paint/spray paint (optional) – Amazon, Target, Walmart
- Melting Wax – Amazon, Target, Walmart
- Candle Wicks – Amazon
- Scents (optional) – Amazon
- Food Coloring (optional) – Amazon, Target, Walmart
- Googly eyes – Amazon, Target, Walmart
Keep in mind, the amount of wax that you’ll need is based on the size jar you use and how many candles you plan on making. You will also want to note that the most cost-effective option is buying a candle making kit instead of each individual item. These will often come with wax dye, scents, the right amount of wax, and a jar to melt the wax in. Let’s get started with the project now.
This is what you’ll need to do:
- Glue, hot glue, or tape the googly eyes onto your mason jar. You can glue the eyes anywhere you’d like on the jar. I like putting them closer to the top of the jar to make them look *slightly* more realistic. With this step you can also paint or draw the eyes on the jar using regular paint or permanent markers if you prefer!
- Now let’s make the candles! First you’ll need to cut up your melting wax or old candles (if they’re not already in small bits) and put them in a heat resistant cup. Remember if you’re making a ghost, you’ll want white wax and black if it’s a spider. Color can be added after the wax has melted completely.
- Bring a pot of water to a boil and place the heat resistant cup filled with wax in the water until the wax has melted.
- OPTIONAL: Once your wax has melted you can add scents using essential oils and color using food coloring or wax dye. All you’ll need to do is add a few drops of the scent and color of your choosing while the wax is liquid and mix it together. Remember this step is completely optional – you do not need to add either to this project.
- Wrap your wick around a long object – this can be a spoon, knife, stick, etc… as long as it extends farther than your jar to hold the wick up. You’ll place this on top of your mason jar so that the wick is centered inside of the jar.
- Pour the melted wax into your jar and let it sit for 1-2 hours while it cools. Do not untie or cut the wick until the candle is completely solid.
- Once the wax has completely cooled, you can cut the wick and light your spook-tacular new candles!
- A final optional step is to decorate your ghosts/spiders however you’d like! You can use different paints, markers, ribbons, etc… to add bow ties, spots, colors, anything you’d like to make the decorations your own!
For a quicker version of this project, you can buy a realistic flameless candle to light up your decorations instead. Doing this will require you to paint or spray paint your mason jars so they’re the correct color. This DIY trend is completely customizable to you and can be a fun activity to create with your children, friends, family and more. You can also buy white or black votive candles and draw/glue eyes directly onto the candle. The possibilities for this project are endless!
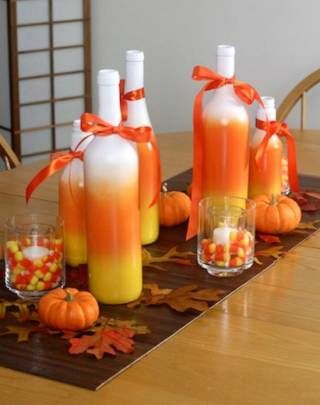
DIY Fall-Themed Vase
Everyone’s got a finished (or almost finished) wine bottle, liquor bottle, or even soda bottle lying around. Now, those don’t have to go directly to the recycling bin with this DIY Fall-themed vase. Here’s what you’ll need:
- An empty bottle/vase (preferably glass, but plastic is OK)
- White, orange, and yellow Spray paint – Amazon, Target
- Fake (or real) plants/decorations – Amazon, Target, Walmart
- (Optional) additional items for decorating – glitter, stickers, markers, photos, stencils, ribbon, etc…
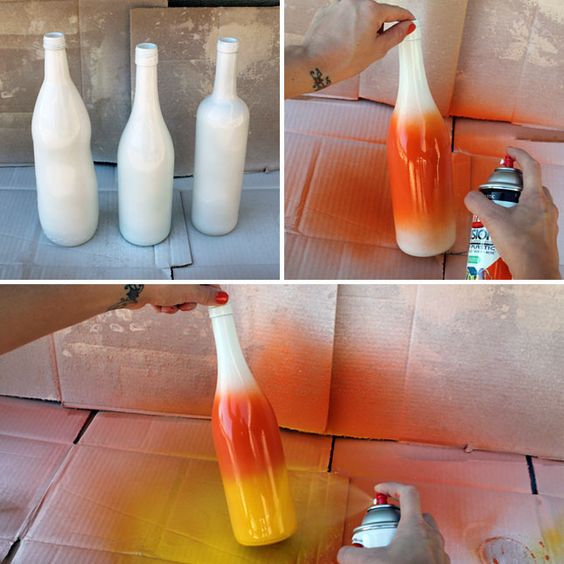
This decorative vase is simple to make and will add a fall vibe to any room in your house. Here’s what you’ll need to do to create a candy corn themed vase:
- Remove the label from the bottle
- Spray paint the entire bottle orange and let it dry completely.
- Once the bottle has dried, you’ll spray paint the tip of the bottle white trailing off toward the center of the bottle to create and ombre or faded look.
- Follow the same directions using the yellow paint on the bottom of the bottle and let it dry completely.
- OPTIONAL once the bottle has dried completely, you can add any decorations you’d like to spice up the look of your bottle.
- Add the plants you’d like to your vase.
- Place it somewhere for everyone to enjoy!
To add even more to your vase, you could place stencils on the bottle prior to spray painting it and remove them after ALL of the paint has dried to create a silhouette on your vase. Using a spiderweb, pumpkin, witch, or other Halloween themed stencil could give your vase a little extra something. Topping your vase with glitter (while the paint is still wet) will make it shine even more. This easy DIY project will look great on your front porch or in your home this Halloween season.
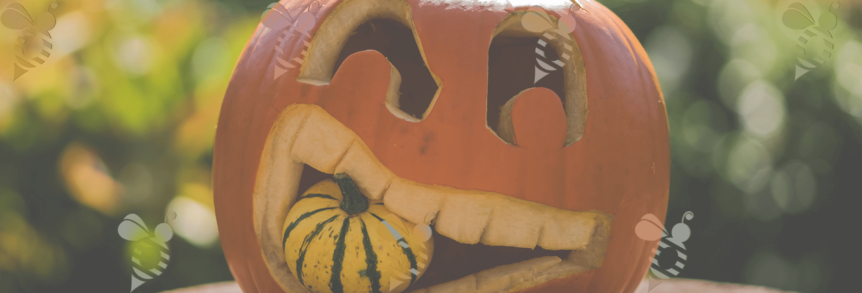
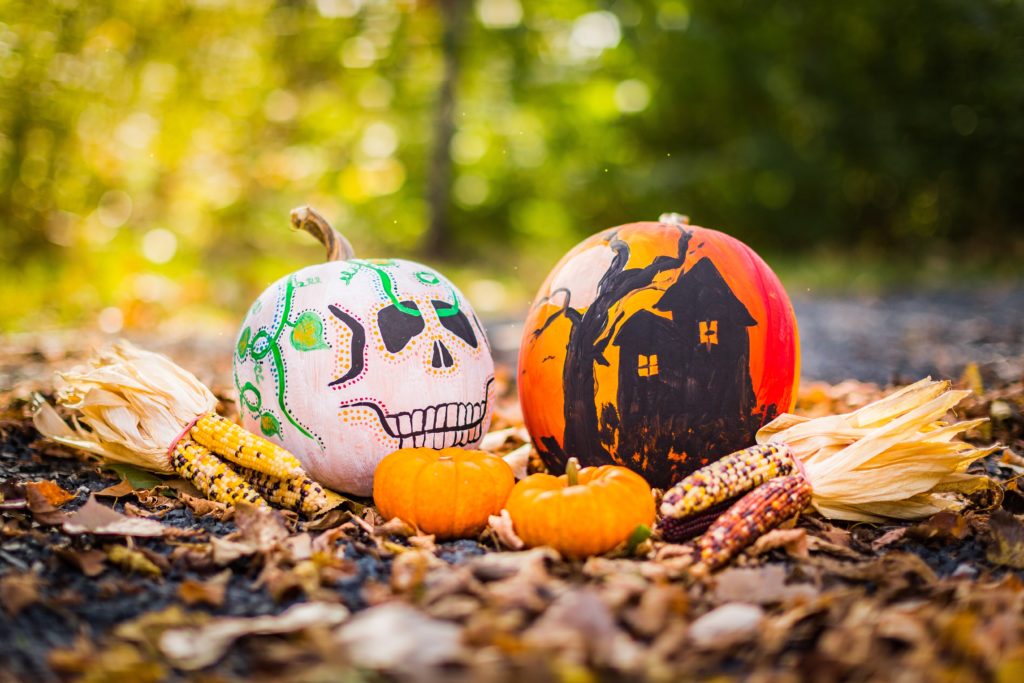
No-carve Pumpkins
Pumpkins are a staple decoration during the Fall season. Sometimes, carving pumpkins can be more messy and troublesome than it’s worth, though. Luckily, there’s alternatives to decorating your pumpkins that are fun for kids and adults alike. Here’s what you’ll need:
- Spray paint or regular paint – Target, Amazon
- Pumpkin(s) – MasterCard Gift Card
- (Optional) Additional decorations – glitter, stencils, ribbon, etc…
This project is very easy and completely customizable to you! All you need to do is paint your pumpkin. There’s no cutting, no carving, and no messy work involved at all. Some ideas that we love for painted pumpkins this year are
- Ghosts – You can paint your pumpkin completely white and use black paint to create fun faces.
- Donuts – paint your pumpkin a light brown color and use the color of your choice for the frosting on top. You can even decorate it further by adding sprinkles!
- Patterns – If you love lines, shapes, and patterns, painting them on your pumpkin is a fun and easy way to create a captivating design
- spiders and spider webs – this design can be created any way you’d like. You can paint your spider web all over your pumpkin with spiders crawling all around it!
The possibilities are endless for this idea and it adds a beautiful pop of color to your front door for all of the trick-or-treaters.
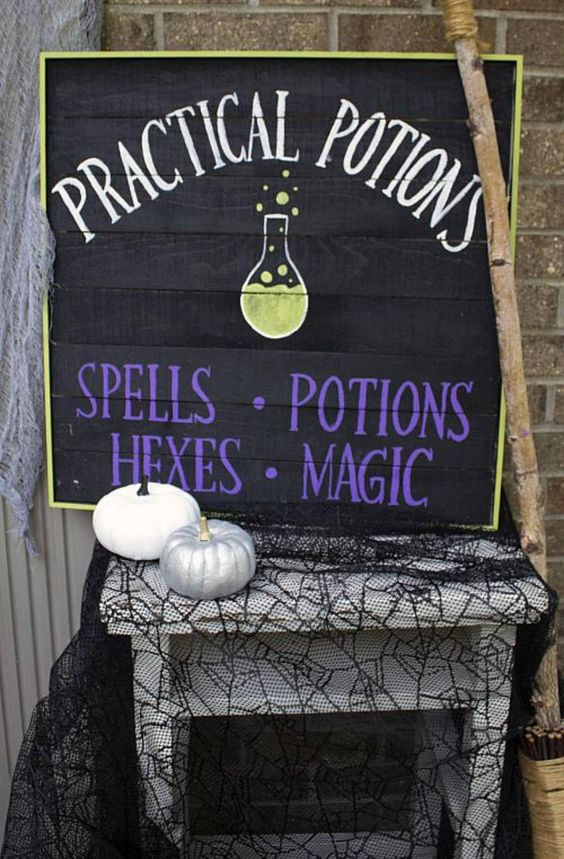
DIY Witches Potion Sign
This decoration is perfect for hanging in your kitchen or next to your candy bowl!
- Square wooden board – Amazon
- Paint – Amazon, Target, Walmart
- (Optional) additional decorations – glitter, puffy paint, etc…
Here’s what you’ll need to do!
- Paint or spray paint your wooden board one color. Typically I’d recommend black for this project.
- Once the paint has dried, you can create a boarder using paint as well – orange, purple, or green typically make a great boarder color for Halloween themed designs. You can even create a striped theme using two or all three of those colors.
- Once the base color and boarder have dried, you can add words to your sign with either paint, stickers, stencils, and more. The text you choose is completely up to you. Here are some popular phrases to consider: “Bubble, bubble, toil and trouble,” “Witches Brew,” “Beware of Poison,” Etc…
This decoration could be used to create a haunted house sign, haunted hayride sign, or you can put cute (or spooky) halloween phrases on it! This sign is perfect for a DIY project and can be reused again and again. What’s better than that?
Closing Thoughts
These ideas will leave you with beautiful homemade Halloween decorations that your friends and family will love. We think you’ll even want to use them to decorate your house year after year! From your front-door to the inside of your home you’ll have spooky, cute, and fun decorations to celebrate Halloween this season.
The best part about all of these Halloween decorations is that all the needed items can be purchased using your Mobee rewards. Amazon, Target, Walmart and the MasterCard gift card will play a big role in helping you create the Halloween decorations of your dreams. Creating inexpensive homemade Halloween decorations just got a whole lot easier.
Do you want to make money from your phone? Mobee pays you in rewards to shop at your favorite stores and retailers. Check us out on our website, the iTunes Store and the Google Play store today!